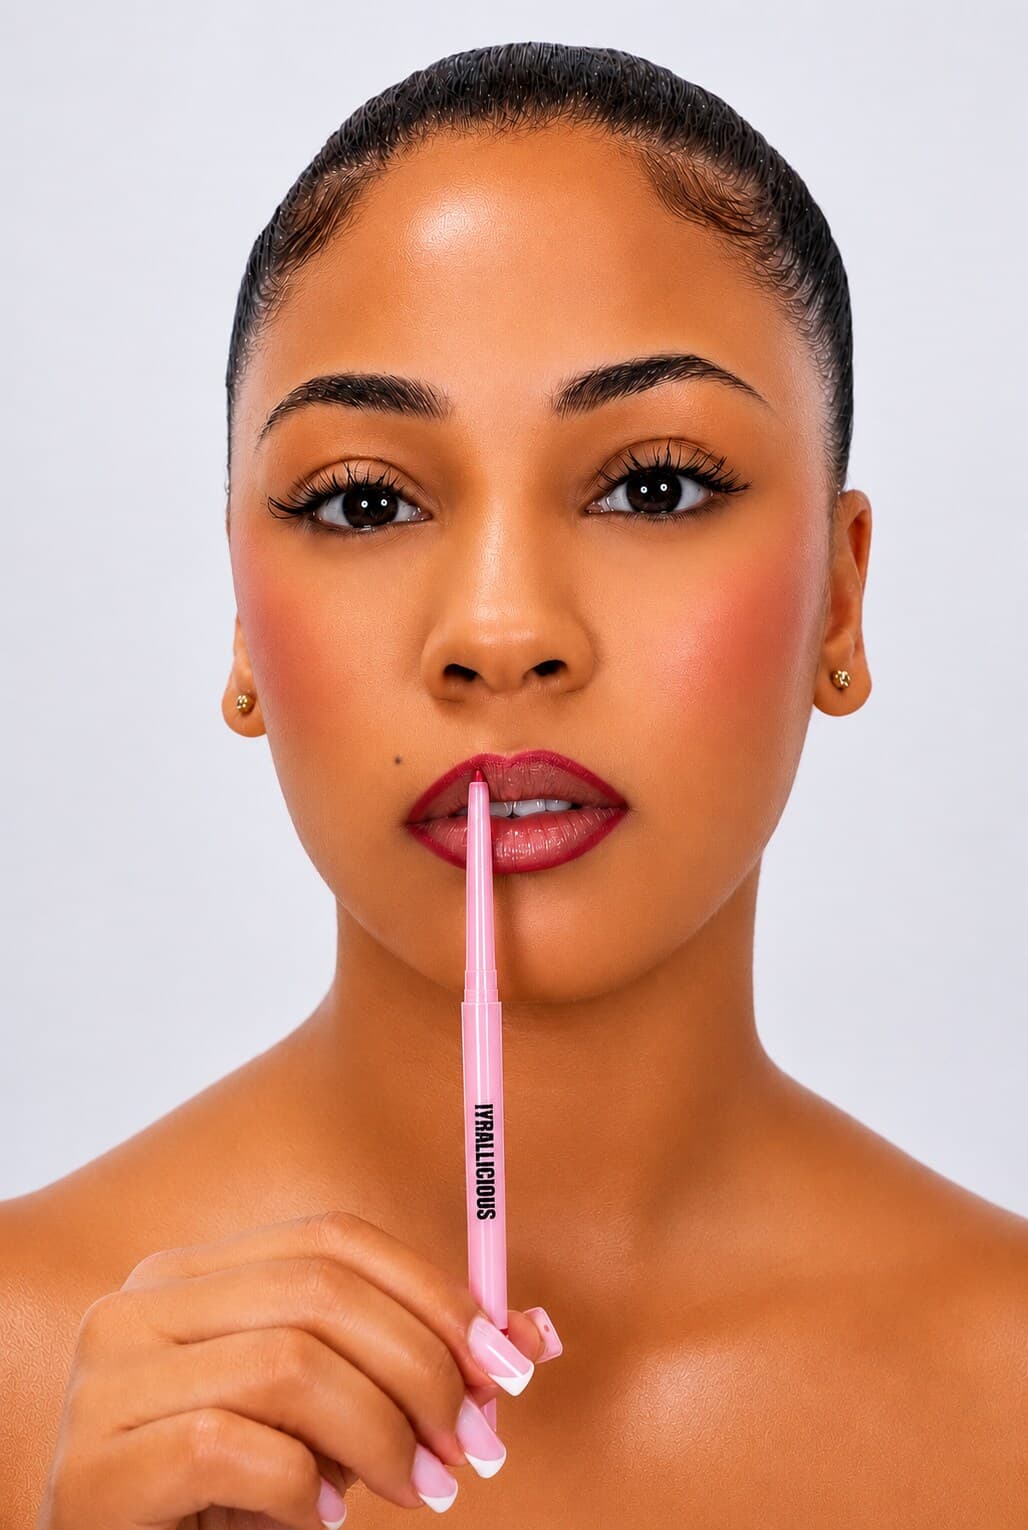
Short answer: Your lip border is not a flat drawing; it is a three-dimensional curved ridge called the vermilion border. When you draw pencil onto the flat skin surrounding your mouth, daylight hits the skin differently than the lip, instantly exposing the trick. To create realistic fullness, keep the sides razor-sharp to your natural border and apply optical shadow only to two specific points: the peaks of the Cupid’s bow and the center curve of the bottom lip.
We have all seen the tutorials that tell you to draw a generous oval outside your lip line. And under controlled studio lighting, it can look full. But the second you step outside into natural daylight, the illusion breaks: anyone standing next to you can clearly see where your lips end and where your face begins. It is not that you are bad at lining. It is that light does not lie.
- 01
Respect the vermilion ridge
The border of your lip is a physical, anatomical ridge that reflects light and casts its own micro-shadow. When you drag a waxy pencil past that curve onto flat facial skin, direct daylight reflects off both surfaces at different angles, creating a telltale double-border. Never overline the sides or outer corners—drawing outside the corners drags the mouth downward and immediately flattens your smile.
- 02
The 2-point anatomical rule
If you want extra height and fullness, you only have realistic leeway in two places: the peaks of your Cupid’s bow (no more than one millimetre above the ridge) and the dead center of your lower lip line. Everywhere else, trace your exact natural contour. Keeping the outer edges tight to your true lip shape is what keeps the mouth looking lifted and clean.
- 03
Turn the pencil into a shadow
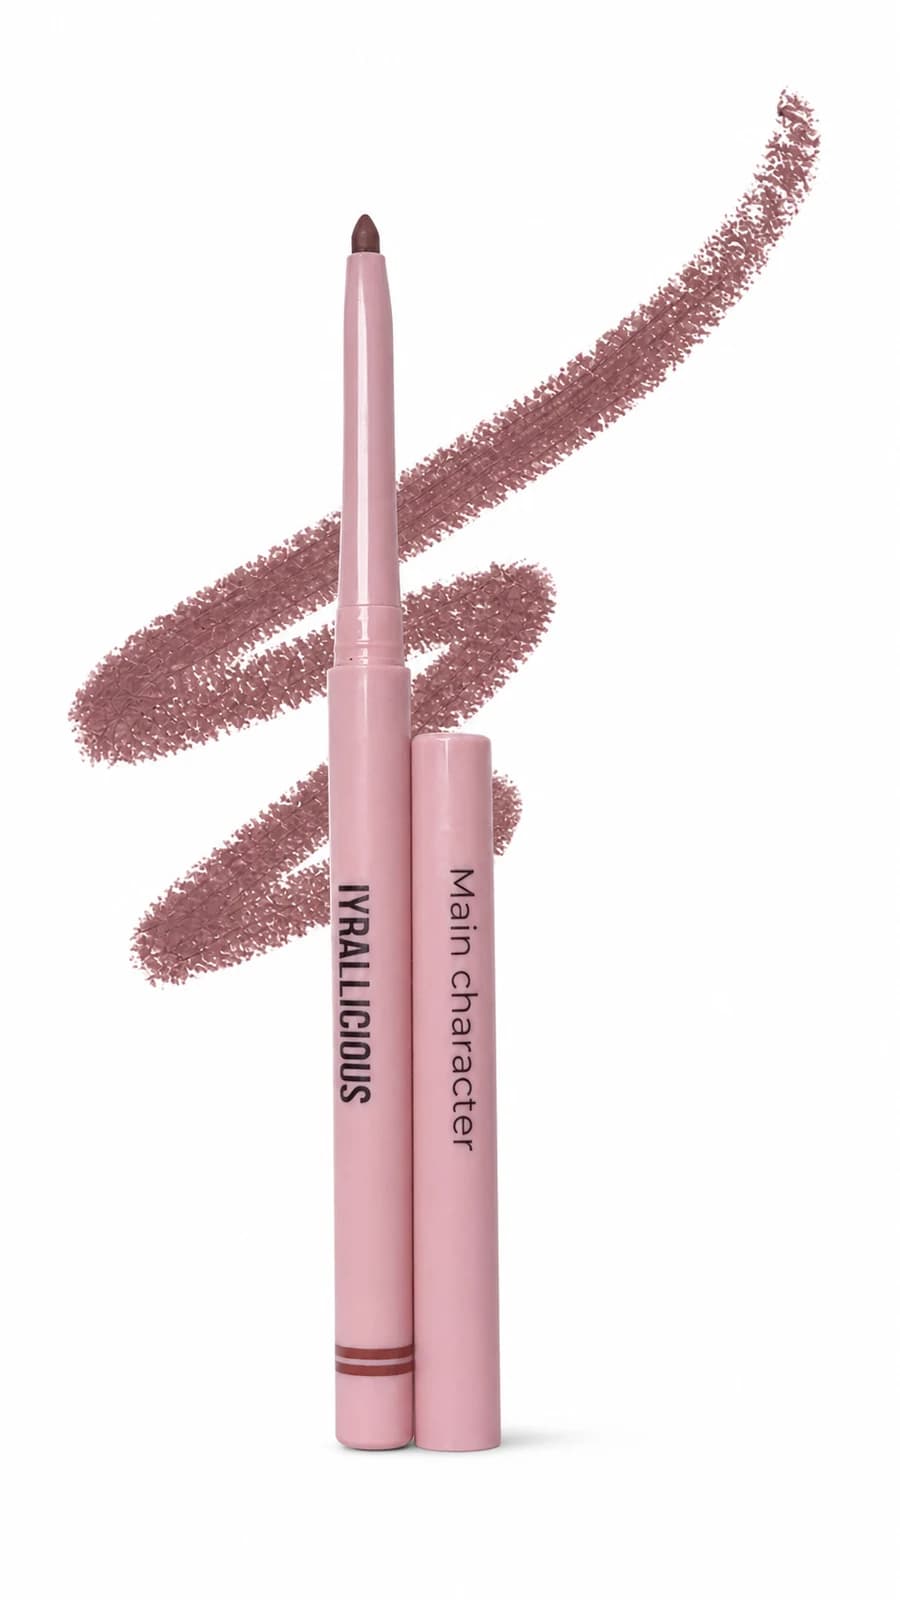
Fullness is an optical illusion created by shadow, not by drawing a fence around your mouth. With a rich, warm brown pencil like Main Character, trace your line and softly feather it 2 to 3 millimetres inward. Creating a soft gradient from the outer edge inward mimics the natural depth of fuller lips, leaving the center open for light.
- 04
Let the center spotlight do the work
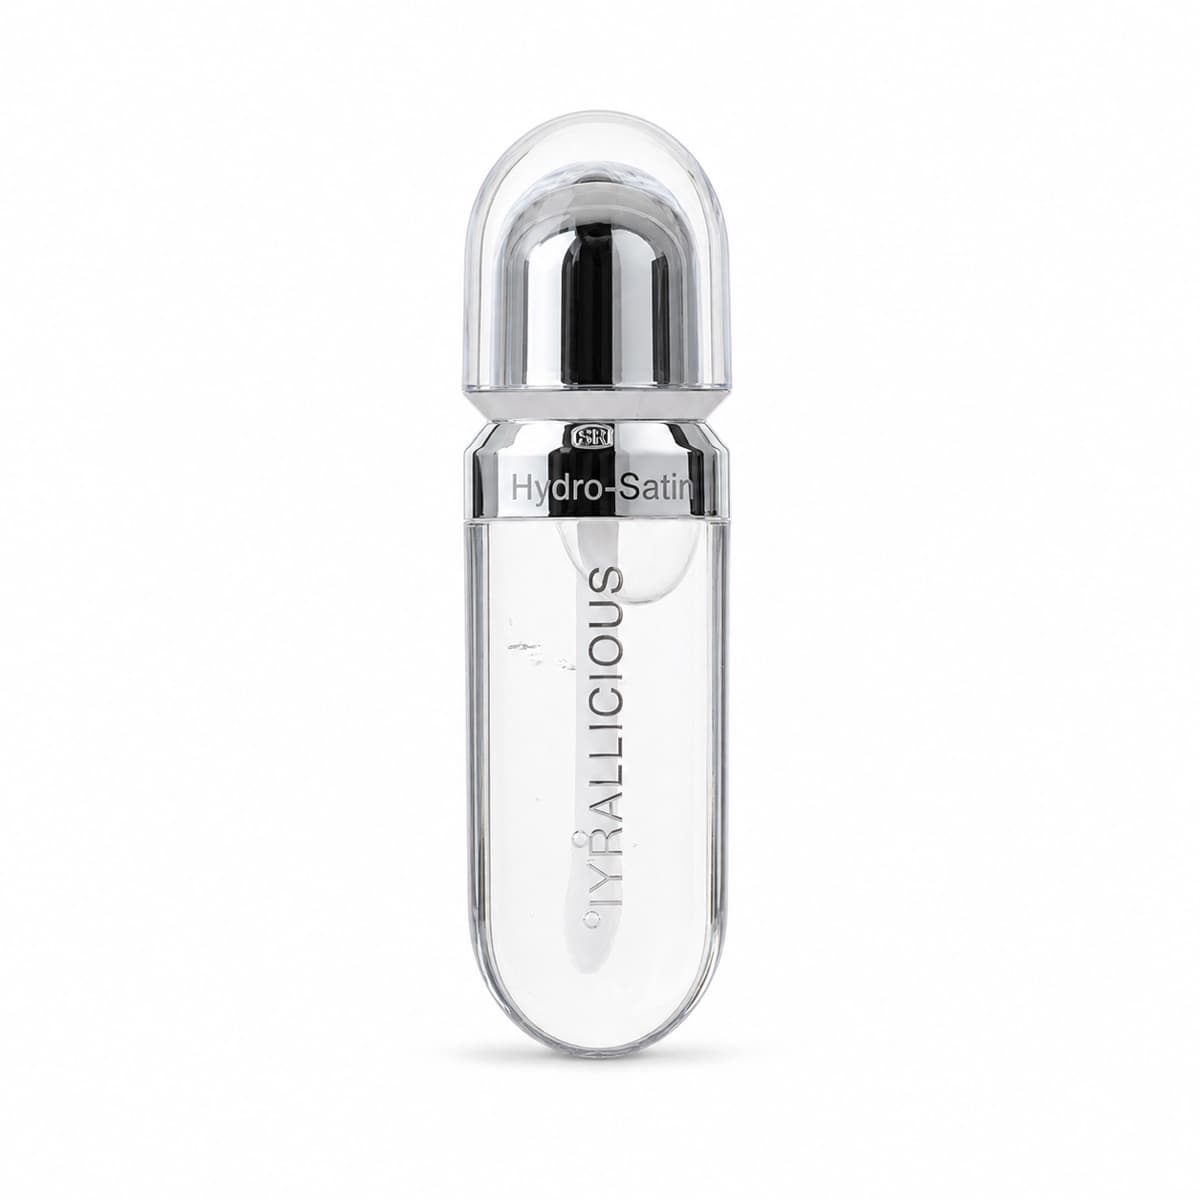
Finish with a high-refraction clear gloss like Crystal Clarity right on the center cushion of the lips. When light hits that glossy center, the highlight pops forward while the warm brown contour recedes. That contrast is what creates natural, touchable dimension without anyone seeing where you started or stopped.
The Dimensional Trio
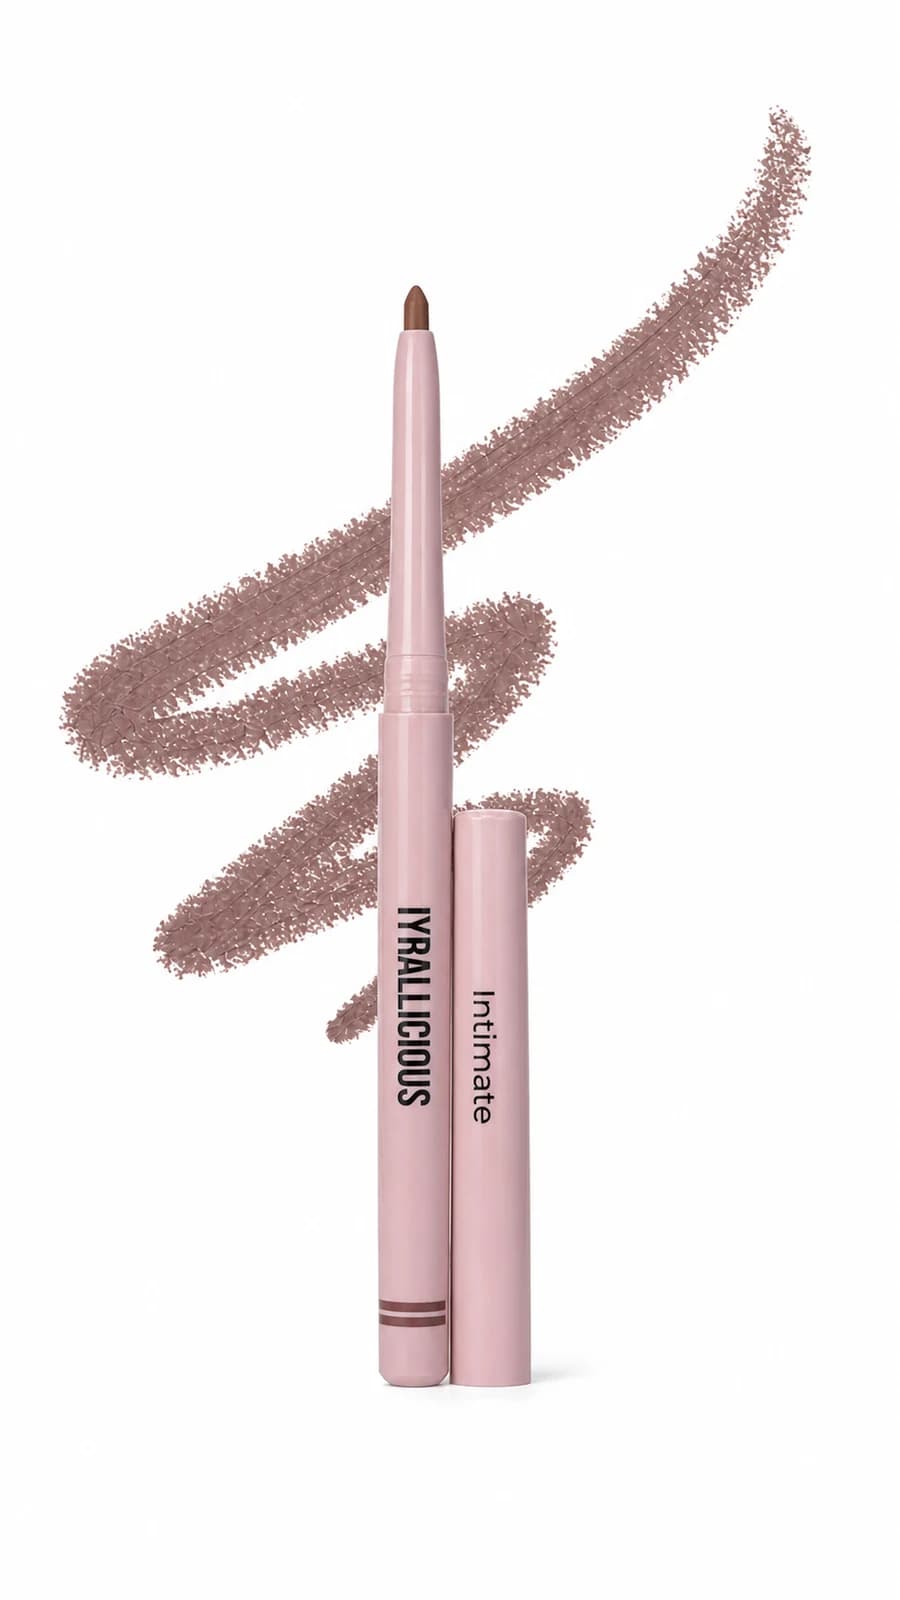
Main Character × Intimate × Crystal Clarity
Warm brown contour, soft nude blending, and high-refraction glassy cushion.
Quick questions
Quick questions on lip contouring and daylight.
Why does overlining look obvious in daylight?
The vermilion border of the lip is a rounded 3D ridge that reflects light. The surrounding skin is flat and has fine facial pores. When daylight strikes from above, the light reveals the difference in texture and angle immediately.
Can I ever overline the corners of my mouth?
It is best to avoid it. Overlining the corners creates an unnatural rounded effect that drags down your facial expression. Keeping the corners on your natural line (or slightly inside) keeps the mouth lifted and structured.
Which shades work best for this shadow technique?
A warm brown pencil like Main Character on the outer border, softened inward with soft nude Intimate, and topped with clear Crystal Clarity in the center creates the most natural optical depth.
Checked sources